Purchase the Ad-free PDF here.
See more examples: browse the Look Book from my pattern testers here.
Intro
Materials
Yarn, weight 3 (small) or 4 (large)
3.5mm crochet hook
Polyfill/Stuffing
Scissors
Stitch Markers (2)
Poly pellets (optional)
Yarn
I designed this pattern using Joanne Big Twist Living Yarn (weight 4) which no longer exists, but if you are able to get your hands on a skein, they come in a lot of great pride flag variegations. Another great option is Lion Brand Skein Tones (weight 3) for a more natural look. Any weight 3 yarn should work for a size small, or a worsted for a size large.
Pattern Info
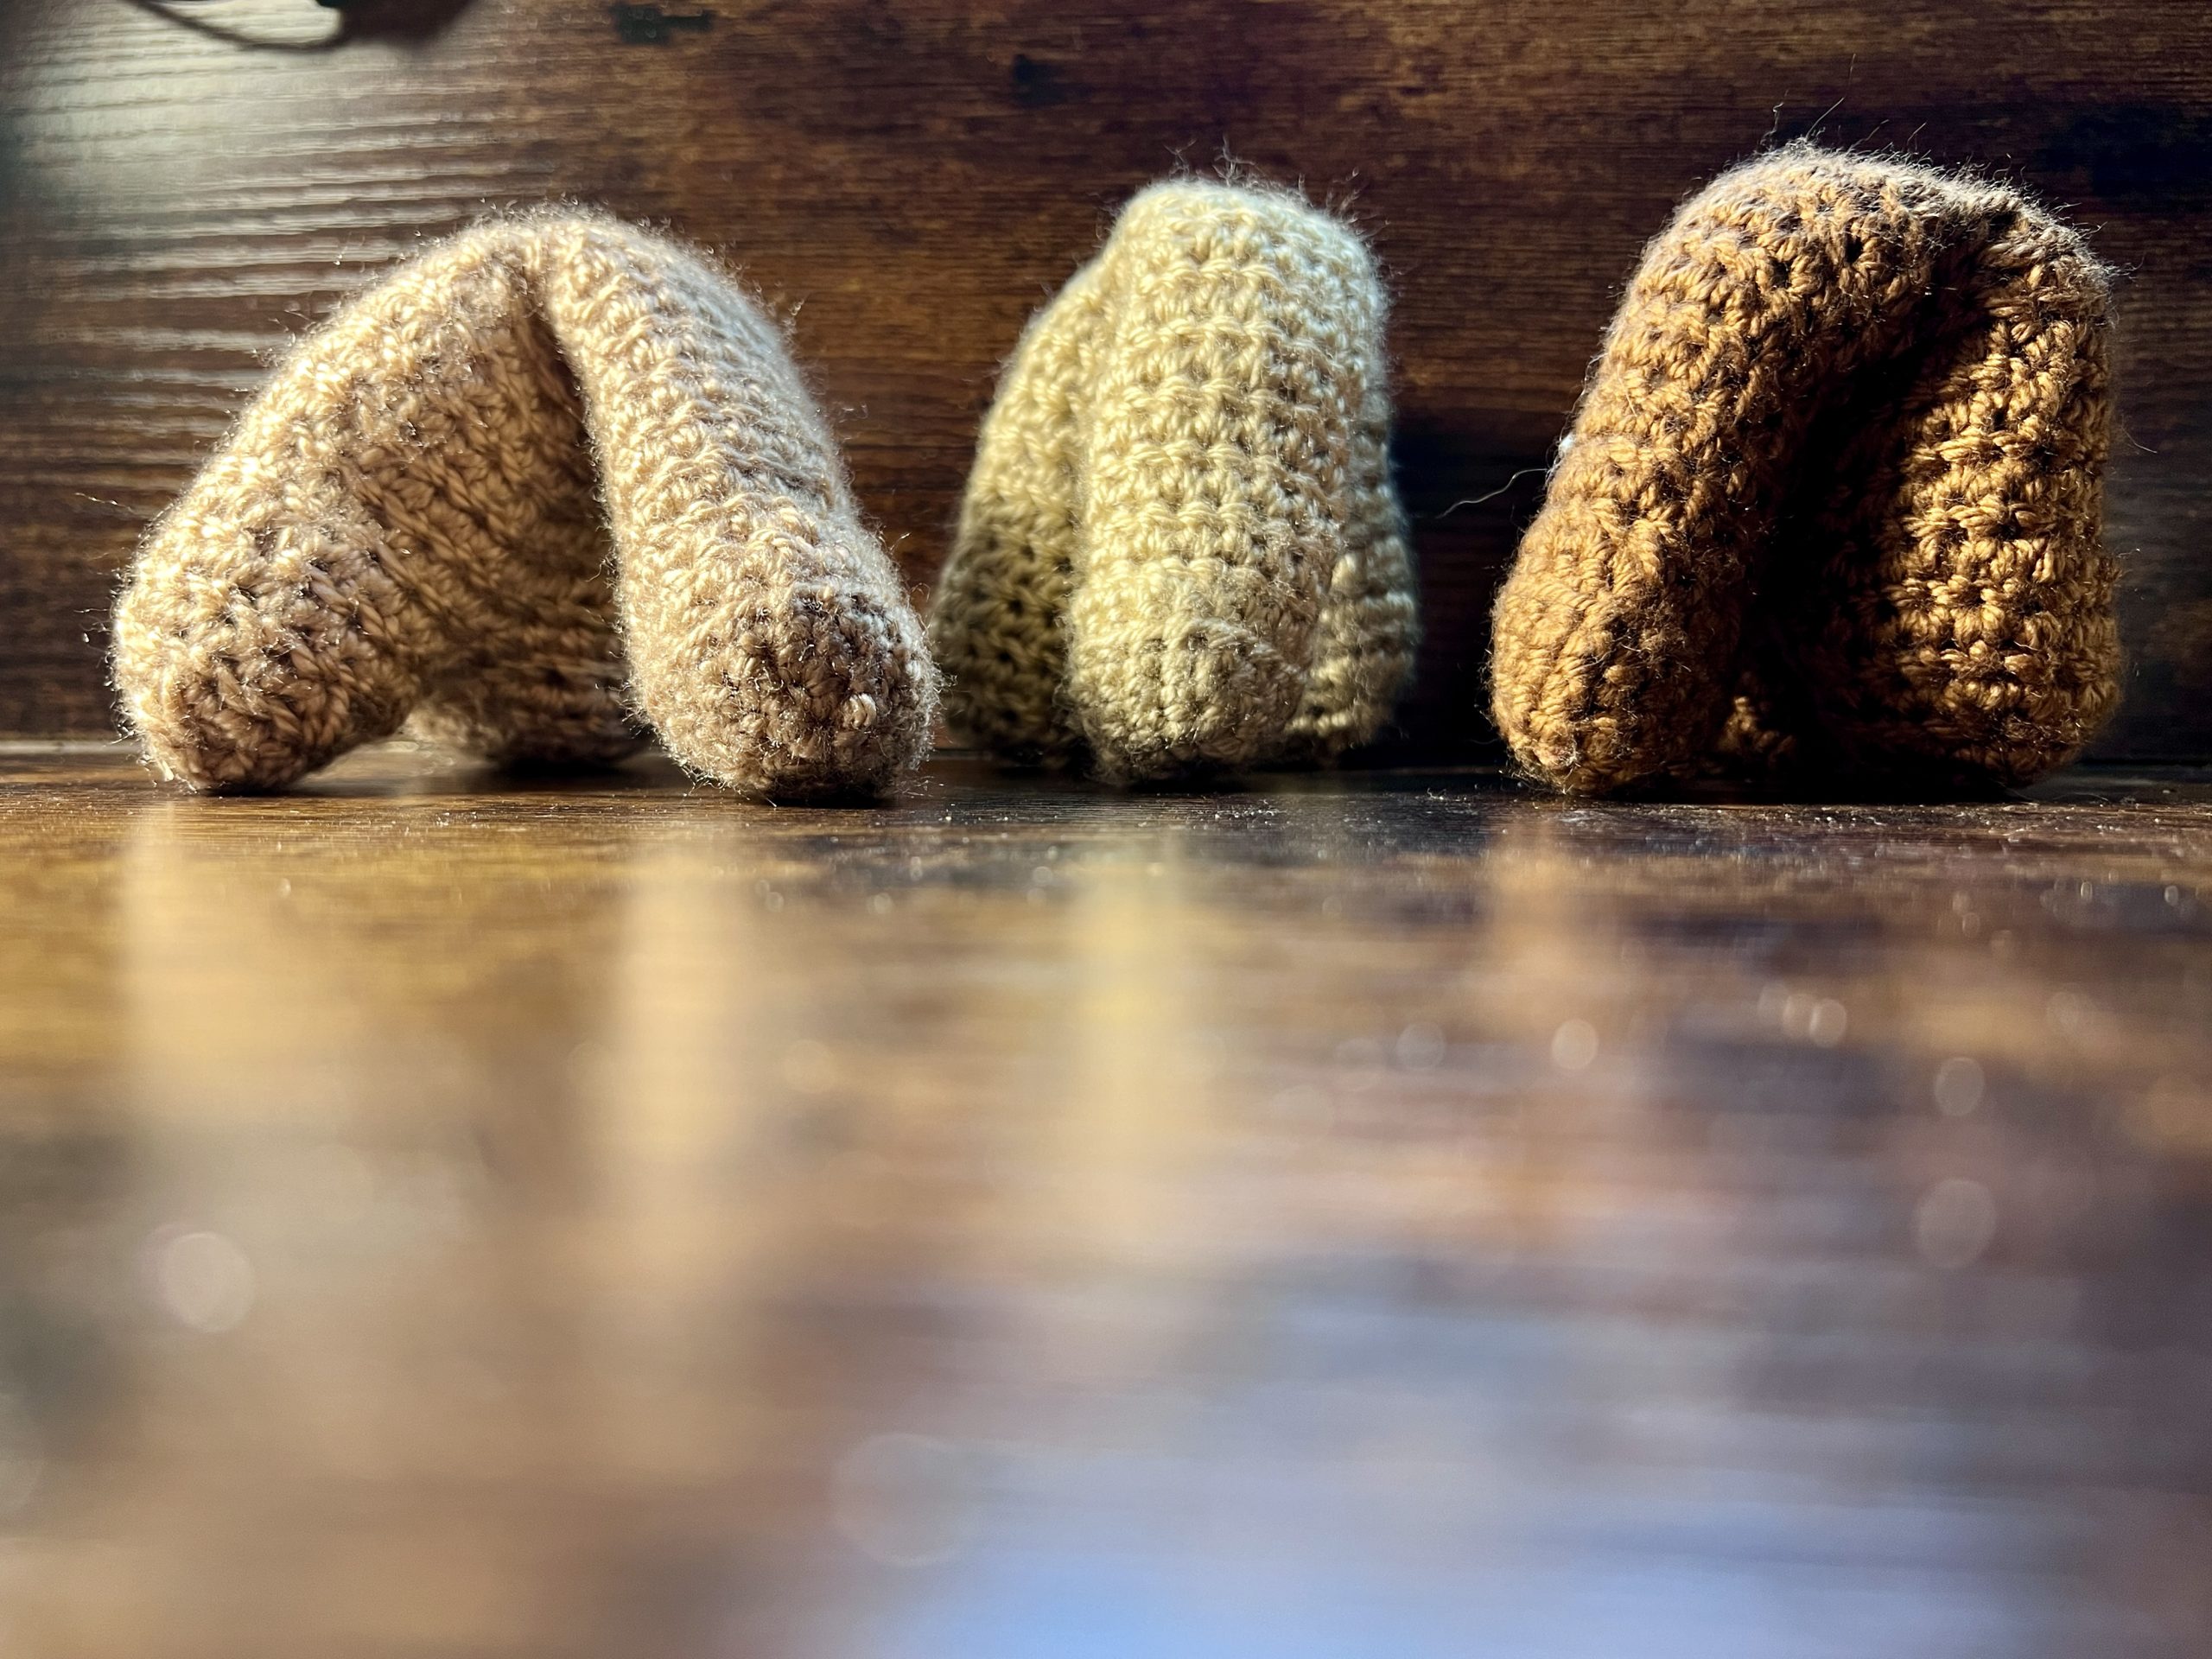
I crocheted a packer to use for myself following Janet Dawson’s pattern. When my drag dad asked if I wanted to sell crochet packer’s at his store, I decided to make my own pattern. Janet’s pattern is lovely – yet there were a few adjustments I wanted to make. I wanted my pattern to be no sew and add some additional dimension to the scrotum. After some trial and error, I landed on a pattern I am very pleased with.
Abbreviations
St: stitch
Sl st: slip stitch
Ch: chain
Sc: single crochet
hdc: half double crochet
Sc-inc: 2 sc in the next stitch
Hdc-inc: 2 hdc in the next stitch
Sc2tog: sc 2 together (decrease)
Hdc2tog: hdc 2 together (decrease)
FLO: front loop only
Right to Use
This pattern is free to use for personal use or items for sale, however please do not republish or redistribute this pattern. Please DO NOT use my photos in your listings without express written permission.

Pattern
This pattern is worked in the round unless a join and chain is specified. However, if you prefer to join and chain at the end of your rounds, by all means do what makes you happy 🙂
Weighted Fillers (optional)
Make 3.
Row 1: Sc 4 into a magic ring (4 sts)
Row 2: Sc-inc 4 (8 sts)
Row 3: [Sc, sc-inc] x4 (12 sts)
Row 4-5: Sc 12 (12 sts)
Row 6: [Sc, sc2tog] x4 (8 sts)
Stuff with poly pellets. This makes your packer feel more realistic and naturally bend
down so that it does not look erect when freestanding. If you do not have poly
pellets, you can use something like dried grains or beans or a cool pebble.
One pattern tester even used large magnets for the weighted fillers and tiny metal balls
instead of polyfill throughout the rest of the pattern. This gives it more weight, allows for
more flexibility in how the packer sits, and can even be used as a fidget!
Row 7: Sc2tog 4 (4 sts)
Fasten off. These will be used to stuff the testicles.
Head
Row 1: Sc 8 into a magic ring. (8 sts)
Row 2: [Sc, sc-inc] x 4. (12 sts)
Row 3: [Sc 2, sc-inc] X 4 (16 sts)
Row 4: Sc 16 (16 sts)
Row 5: Sc FLO 16 (16 sts)
Row 6: Hdc 4. [Hdc2tog, hdc] x 3. Hdc 3. (13 sts)
Stuff the head with a weighted filler or polyfill.
Shaft
Row 7-14: Hdc 13 (13 sts x 8 rows = 104 sts)
Stuff the shaft 2⁄3 of the way with polyfill.
Scrotum
Row 15: Hdc, hdc-inc, hdc 4, hdc-inc, hdc, sl st 5 (15 sts)
Place a stitch marker on the middle sl st. This marks the center inside. As you crochet
the next several rows, move the stitch marker up with you.
Row 16: Hdc, hdc-inc, hdc 2, hdc-inc 2, hdc 2, hdc-inc, hdc, sl st 5 (19 sts)
Row 17: Hdc , hdc-inc, hdc 4, hdc-inc 2, hdc 4, hdc-inc, hdc, sl st 5 (23 sts)
Row 18: Hdc 8, hdc-inc, hdc 14 (24 sts)
Row 19: Hdc 9, hdc-inc, hdc 14 (25 sts)
Row 20: Hdc 10, hdc-inc, hdc 14 (26 sts)
Row 21: Hdc 12, hdc-inc place a second stitch marker into the first hdc of your
hdc-inc, hdc 12. If you are not at the center inside, hdc around until you reach your
first stitch marker. Leave this stitch marker here, do not move it as you work the next
rows. Ch 3 and sl st into the st with the second stitch marker. The chain should go
across the middle of the opening. See photo below for reference. (27 sts)

Stuff the rest of the shaft and scrotum with polyfill. Do not overstuff. Leave an
empty space where the shaft and scrotum meet. It should remain flexible so that you
can bend the penis down towards the testicles. We will now work the “testicles”
separately.
Testicles*
*I recognize anatomically the testicles are on the inside and this is technically still part of the
scrotum. I have chosen to label this section “testicles” as it is a shift in the pattern and for
clarity I want to separate it from the “scrotum” section. If there are better anatomical names
for the two sections, reach out and I’ll update the pattern.
NOTE: Don’t stress if your testicles are off by one or two stitches. Real testicles aren’t
perfect or symmetrical, so it’s totally okay if yours aren’t either.
Row 22: Hdc into the same stitch as your sl st. Continuing in the same direction
you’ve been working, hdc 13 around one side of the scrotum with your last hdc into
the stitch with your stitch marker. Hdc FLO 3 across the chain. (17 sts)
Row 23: Skip over the sl st. Hdc2tog, hdc 10, hdc2tog, hdc 3 (15 sts)
Row 24: [Hdc 3, hdc2tog] x3 (12 sts)
Row 25: [Hdc, hdc2tog] x 4 (8 sts)
Fasten off leaving a tail. Pull the tail through each stitch and pull to close the hole.
Pull the tail inside and stuff through the opening where the other testicle will go
with one of your weighted fillers or polyfill.
Row 26: Insert your hook into the inside center from row 20 where your stitch
marker is and pull up a loop. Ch 1. Hdc into the same stitch. Working along the other
side of the scrotum, hdc 14. Once you reach the other testicle, Hdc FLO 3 across the
chain from row 21. (18 sts)
Row 27: Hdc2tog, hdc 10, hdc2tog, hdc 3 (16 sts)
Row 28: Hdc2tog [Hdc 3, Hdc2tog] x3 (12 sts)
Stuff with one of your weighted fillers or polyfill. You may need to add a bit more
polyfill to stuff a bit fuller than you want the final result to fill in the space where the
testicles meet the scrotum.
Row 29: [Hdc 1, hdc2tog] x 4 (8 sts)
Fasten off leaving a tail. Pull the tail through each stitch and pull to close the hole.
Adjust the stuffing so that the second testicle is filled.
Pull any loose ends inside the penis, or if you want a permanent “pack down” look,
pull the tail out through where your stitch marker ended, then stitch through the
center inside of the shaft just below the head and secure.
You’re Done!
Share a picture with me on social media @itsisamorgan (Instagram & TikTok) or
leave a comment down below. Enjoy!
Leave a Reply